Looking to keep your social media profiles consistently active without the hassle of manual posting? The Auto RSS feature in Social Champ lets you automate content sharing directly from your favourite blogs, websites, or even your own content hub.
With just a few clicks, Social Champ will fetch fresh content from any valid RSS feed and automatically publish it to your selected social accounts based on your chosen schedule.
Auto RSS helps you save time, stay relevant, and keep your audience engaged — all on autopilot.
Follow these simple steps to activate Auto RSS:
Navigate to Auto RSS
- Log in to your Social Champ account.
- From the left-side navigation panel, select to Auto RSS.
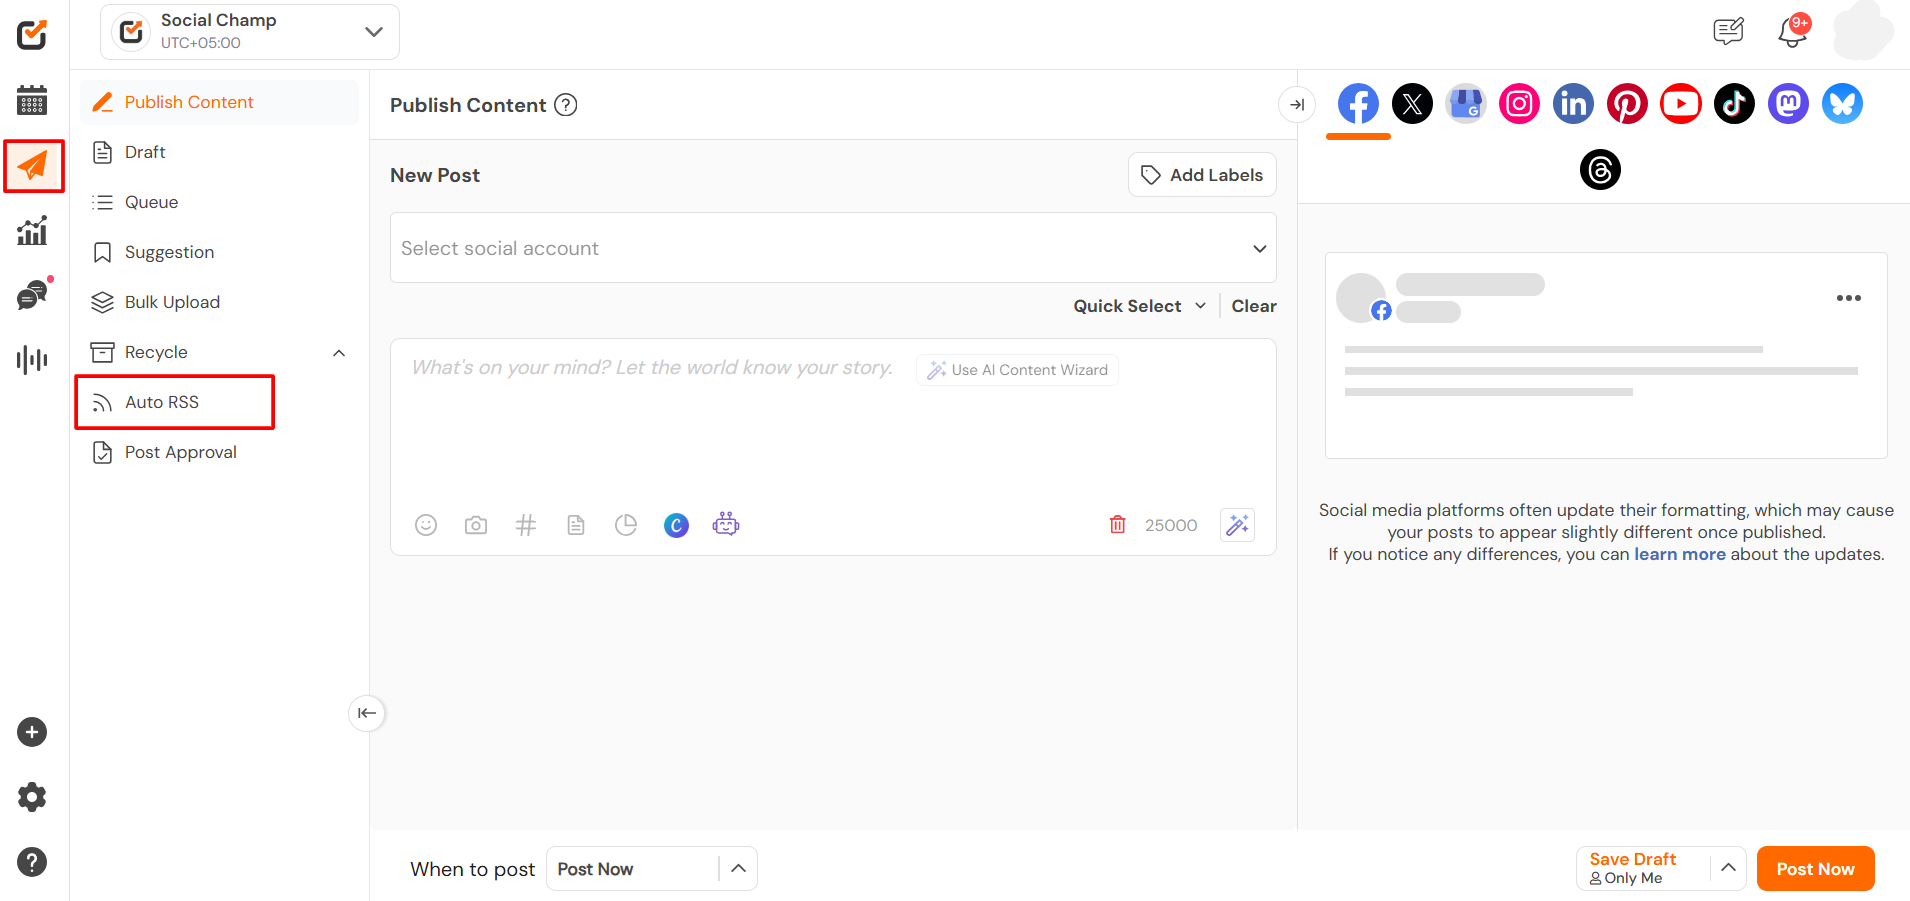
Click on ”Add RSS Feed +”
- You’ll see a list of your existing feeds (if any).
- Click on the “+ Add RSS Feed” button in the top-right corner.
Enter Feed Details
A form will appear where you can configure the following:
- RSS Feed URL: Paste the URL of the RSS feed you want to use and click next.
You can also select from the suggested list of trending RSS Feeds by clicking the ‘Suggested RSS Feeds’ button.
Once done, click ‘Next’. - Select Social Accounts: Choose the social media profiles you want to post on.
- Add labels: Labels can also be added to the posts.
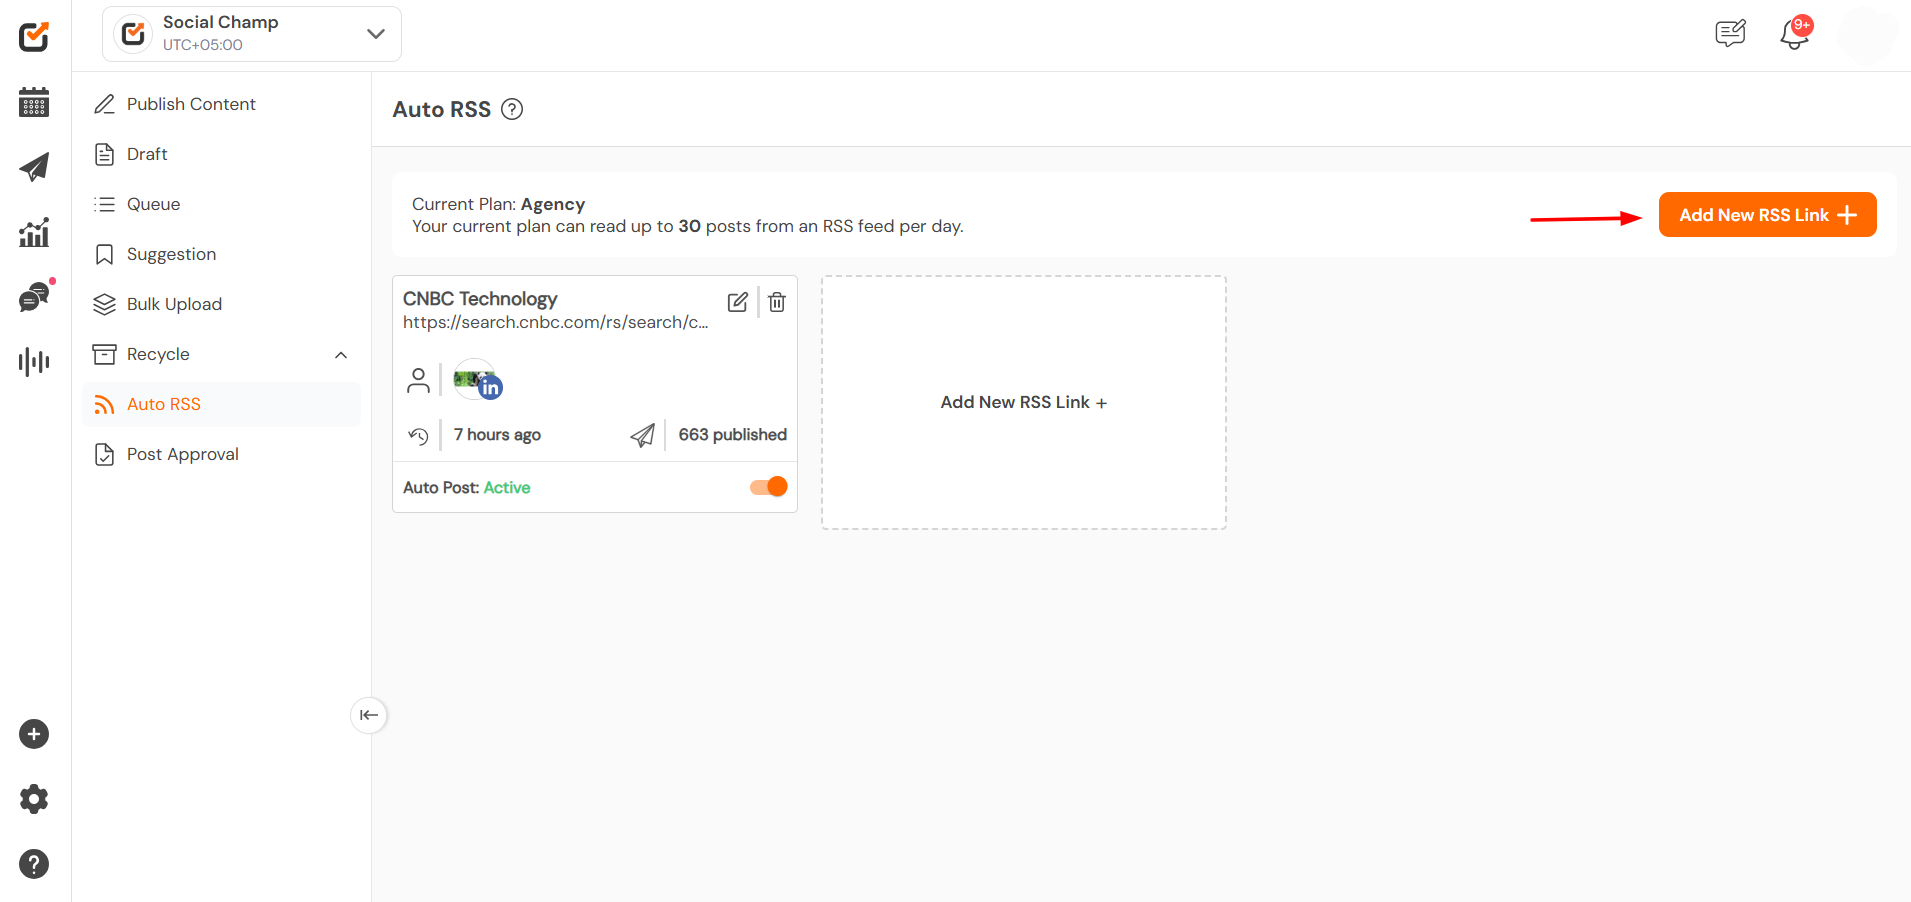
- Posting Frequency: Set how often new posts should be published.
First, set up the frequency of the posts to be posted on your selected social accounts. The number of posts with respect to time varies from pricing plan to plan.
* Trial and Lifetime accounts will follow as per the pricing plans selected. - Post selection: Should the posts be selected from latest feed or In sequence. Customise your feed post by ‘Latest Posts’ to enable the newest incoming posts to be posted or by ‘In a Sequence’ to post the past content that wasn’t posted due to the end of the daily limit.
- When to post: Select options from ‘Post immediately’ or to ‘Add to a queue’.
- Lastly, enable or disable the option for ‘Use Images’ or to ‘Customise RSS links’.
- Optimise RSS Post: optimise your RSS posts by adding a Title, Link, and Description as per your preference.
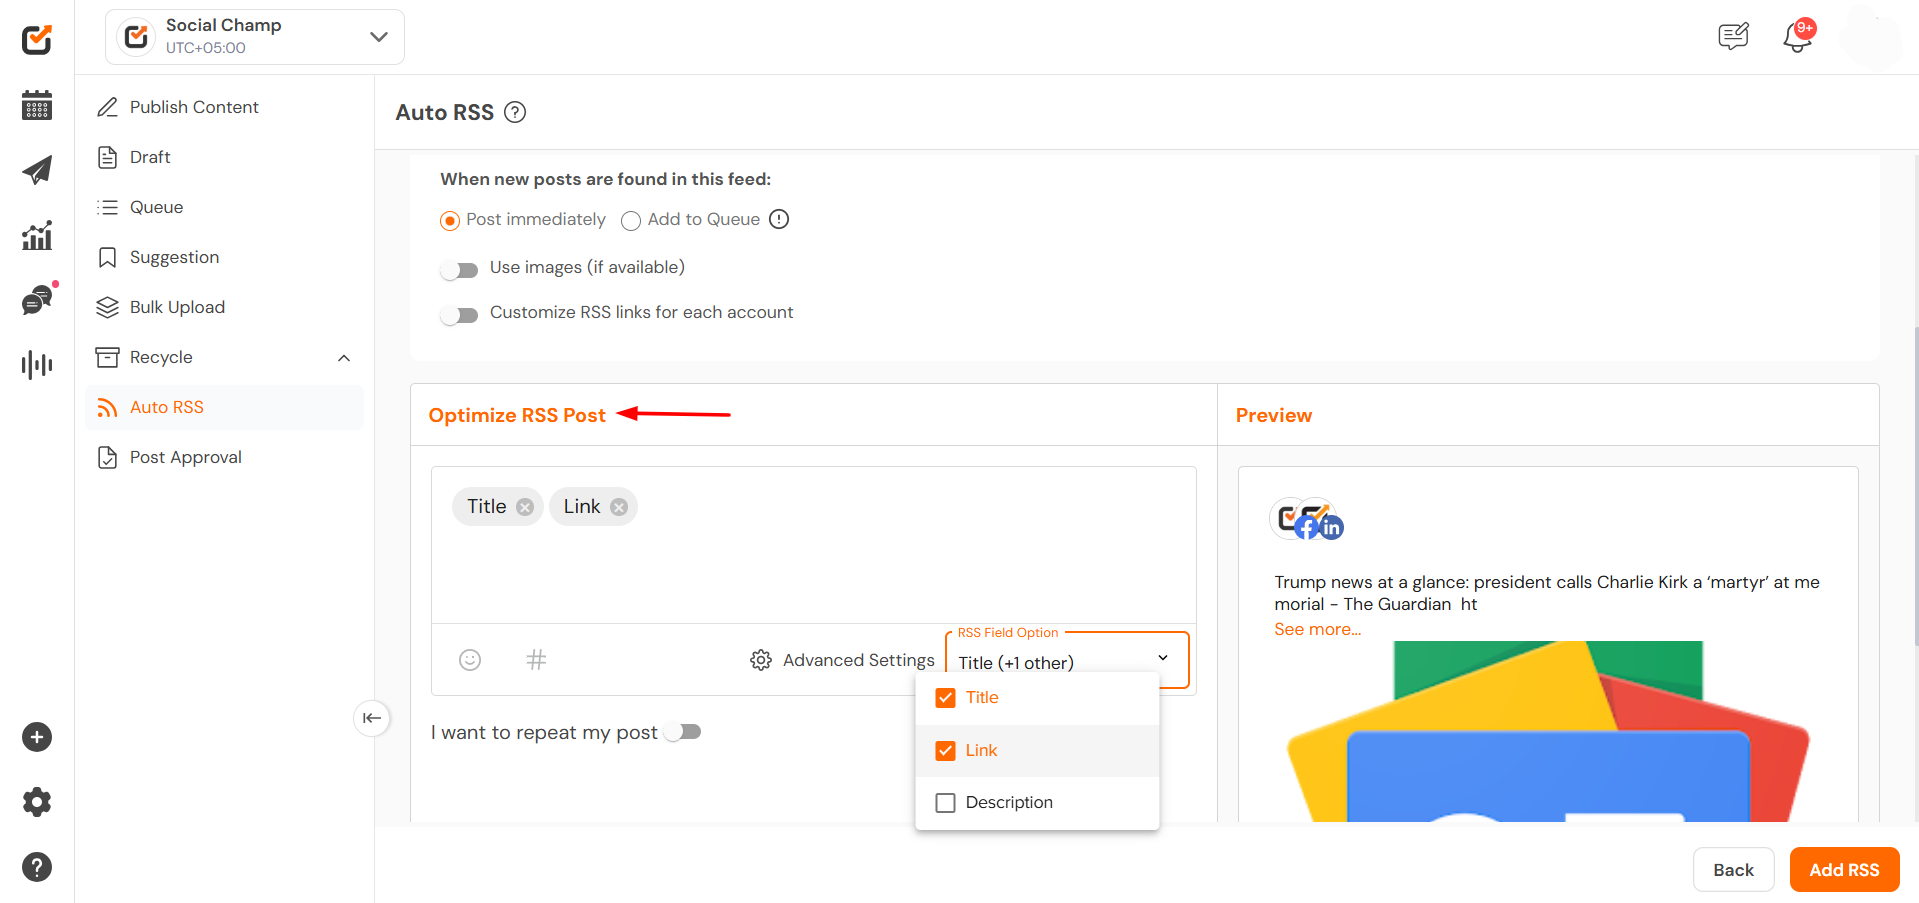
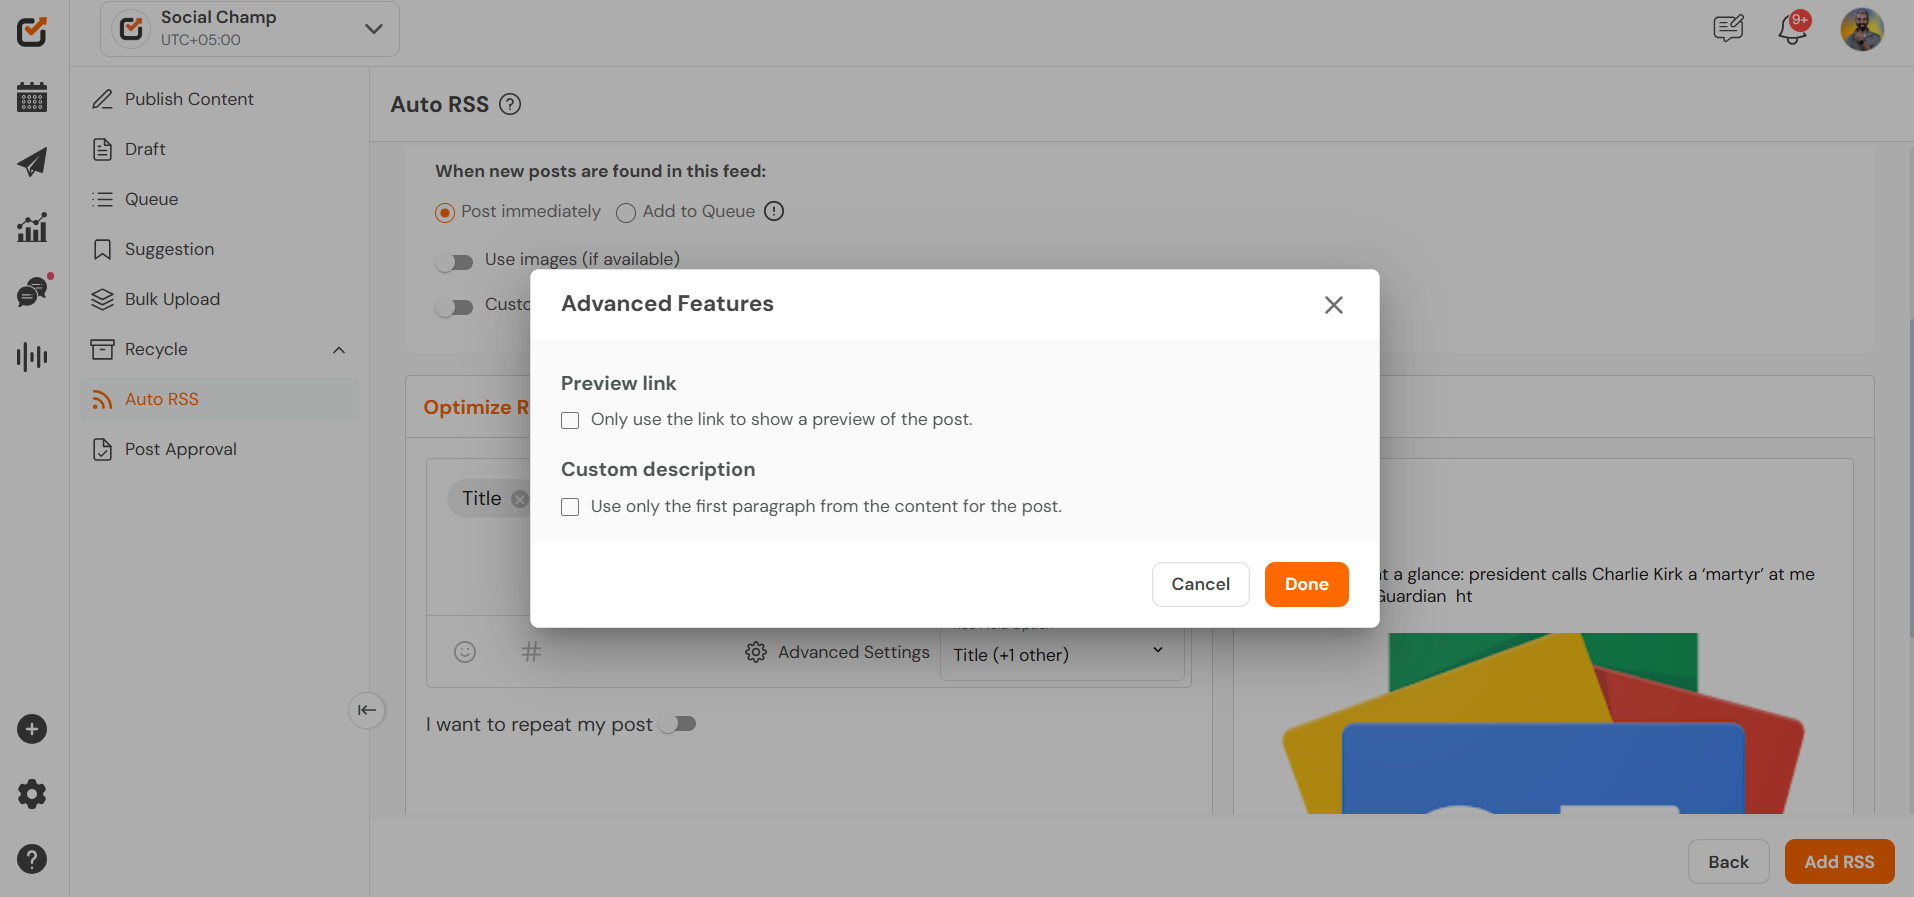
- Advanced Settings: You can adjust the custom description and the preview of the post.
- If you like to Repeat your RSS posts switch on the toggle. Once all is done, click ‘Add RSS’.
* The Repeat post option is only available for the Facebook and Twitter posts.

Once done click on Add RSS to proceed.
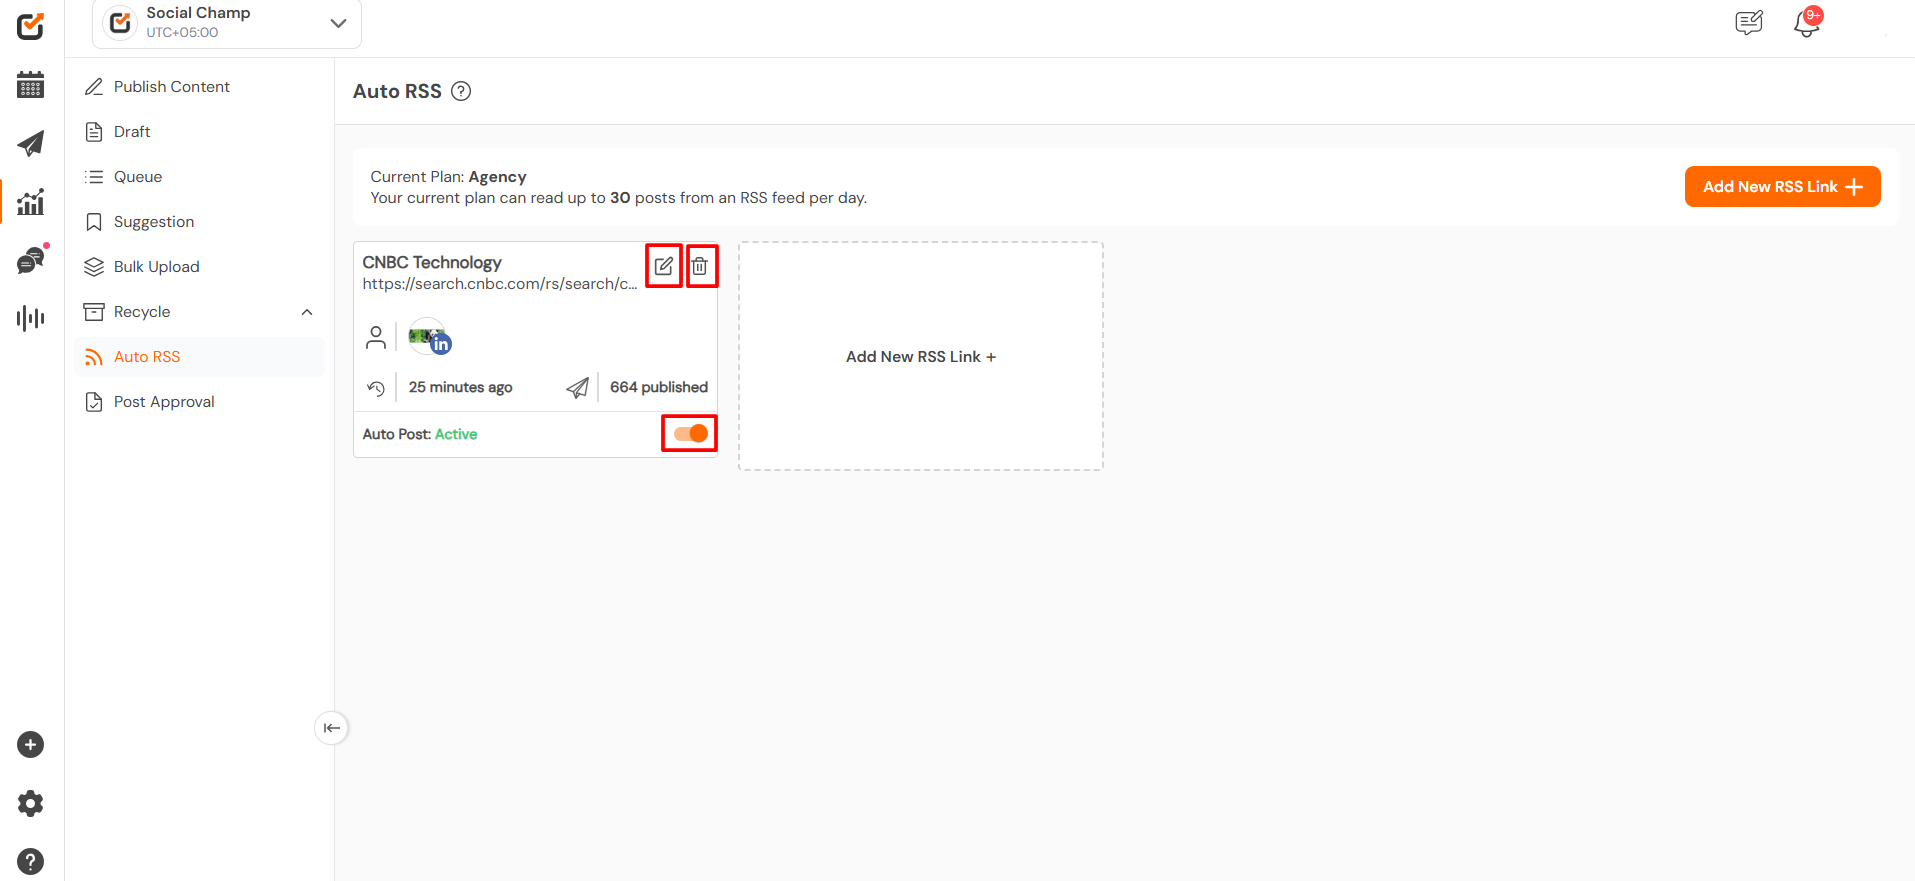
Managing Your Feeds
- You can edit, or delete or deactivate any RSS feed anytime using the options next to each feed.
Great work! Now you know how to use the Social Champ’s feature Auto RSS. Happy posting, Champs 😊
Get the Support you need
Having trouble? Got a question? We’re here to support you every step of the way. Simply email us at Support@socialchamp.com, and we’ll get back to you.
Enhance your content strategy and engage your audience with YouTube video scheduling. Follow this step-by-step guide to schedule videos on Read more
Hey, Champs! Social Champ now introduces its much-awaited feature ‘Shareable Drafts’, which allows you to share your saved scheduled posts Read more

This guide will help you schedule carousel posts (multiple images) to your Instagram Business or Creator account using Social Champ. Read more
Social Champ offers a free plan and three paid plans. The number of posts you can schedule using each plan Read more